Okta integration
Create an Okta SAML application
Login to your Okta account.
- Navigate to Admin > Applications > Add Application > Create New App.
- In Create a New Application Integration set these values and click Create:
- Platform: Web
- Sign on method: SAML 2.0
- In General Settings set the following values and click Next:
- App name: set this to a suitable name for the instance you are securing, e.g. Flex-UAT-1.
- Optionally, configure both the app visibility and logo to one's preference.
- In Configure SAML set the following values and click Next:
- Single sign-on URL: The absolute Flex login URI, e.g.
https://kpow.corp.com/saml - Audience URI (SP Entity ID): set this to a suitable name for the instance you are securing, e.g. Flex-UAT-1.
- Attribute statements:
Email-> can be mapped touser.emailusing theunspecifiedname format
- Group attribute statements:
Roles-> can be mapped to a relevant group filter for Role Based Access Control
- Single sign-on URL: The absolute Flex login URI, e.g.
- Navigate to Feedback > Finish and you will be redirected to your new Okta application.
- Navigate to Sign On > View Setup Instructions and save the XML in Provide the following IDP metadata to your SP provider to a file on disk.
Integrate Flex with Okta SAML
Set the following environment variables and start Flex:
AUTH_PROVIDER_TYPE=samlSAML_RELYING_PARTY_IDENTIFIER=[Audience URI (SP Entity ID)]e.g. Flex-UAT-1.SAML_ACS_URL=the Single sign-on URL, e.g.https://kpow.corp.com/samlSAML_METADATA_FILE=the path to the IDP metadata file, e.g./var/saml/saml-idp-metadata.xml
Flex will now authenticate users with Okta (SAML).
User authorization
See the guide to Role Based Access Control for full configuration details.
Integrate Okta SSO (OpenID) and RBAC
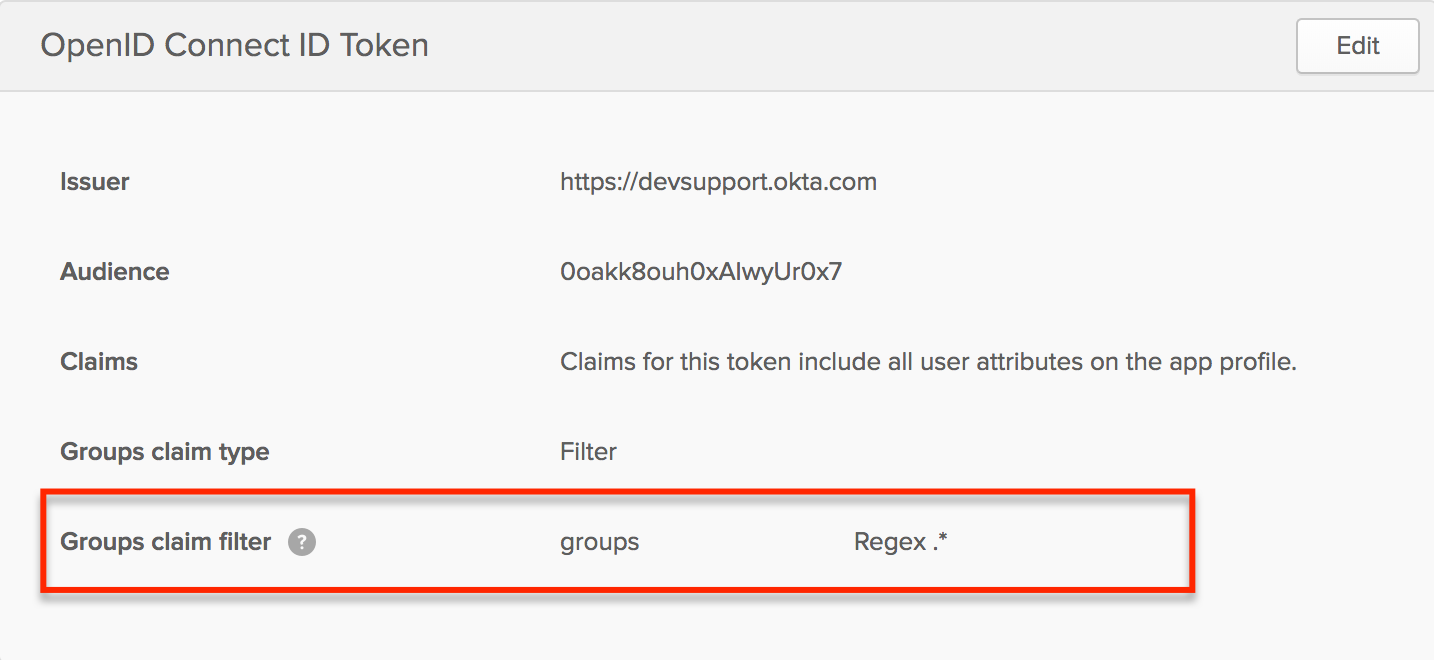
When RBAC is enabled Flex will request groups scope to view the groups associated with an authenticated user. Flex considers Okta groups as roles in your RBAC configuration.
You will need to configure a relevant group claim filter for the Flex OpenID integration: