Self-managed Flink
Opting for a self-managed Apache Flink setup gives us full control over our stream processing environment. This approach is ideal when we need to tailor the Flink cluster to our specific performance and configuration requirements. While it means we take on the operational duties, it provides maximum flexibility and can be a cost-effective choice for deploying our real-time applications.
This guide provides a quickstart for deploying a local, self-managed Flink environment using Docker Compose, complete with Flex for comprehensive monitoring and management.
Quickstart
We will start by launching a Flink cluster, consisting of a JobManager and a TaskManager, alongside a Flex instance using Docker Compose. This provides a complete local environment for developing and testing our Flink jobs.
Here is a breakdown of the services defined in the docker-compose.yml file:
-
Flink JobManager (
jobmanager)- Image:
flink:1.20.1 - Host Ports:
8081: Exposes the Flink Web UI and REST API to our local machine.
- Configuration:
- Mode: Acts as the central coordinator for the Flink cluster, responsible for job scheduling, checkpoint coordination, and recovery.
- Healthcheck: Includes a healthcheck to ensure the JobManager is fully operational before other dependent services, like Flex, start.
- Image:
-
Flink TaskManager (
taskmanager)- Image:
flink:1.20.1 - Configuration:
- Mode: Functions as the worker node, executing the tasks of a Flink job. We have configured it with three task slots.
- Dependencies: Explicitly depends on the
jobmanagerservice to ensure the cluster's coordinator is available first.
- Image:
-
Flex (
flex)- Image:
factorhouse/flex:latest - Host Ports:
3000: Exposes the Flex web UI, which we can access athttp://localhost:3000.
- Configuration:
setup.env: All necessary configurations are loaded from this file.FLINK_REST_URL: Is configured tohttp://jobmanager:8081to connect to the Flink cluster's REST API.- Licensing: Our Flex license details are required in the
setup.envfile. - Dependencies: Depends on the
jobmanagerservice being healthy, ensuring Flex starts only when the Flink cluster is ready.
- Image:
docker-compose.yml
services:
  jobmanager:
    image: flink:1.20.1
    command: jobmanager
    container_name: jobmanager
    ports:
      - "8081:8081"
    environment:
      - |
        FLINK_PROPERTIES=
        jobmanager.rpc.address: jobmanager
        state.backend: filesystem
        state.checkpoints.dir: file:///tmp/flink-checkpoints
        heartbeat.interval: 1000
        heartbeat.timeout: 5000
        rest.flamegraph.enabled: true
        web.backpressure.refresh-interval: 10000
    healthcheck:
      test: ["CMD", "curl", "-f", "http://localhost:8081/config"]
      interval: 5s
      timeout: 5s
      retries: 5
  taskmanager:
    image: flink:1.20.1
    command: taskmanager
    container_name: taskmanager
    environment:
      - |
        FLINK_PROPERTIES=
        jobmanager.rpc.address: jobmanager
        taskmanager.numberOfTaskSlots: 3
        state.backend: filesystem
        state.checkpoints.dir: file:///tmp/flink-checkpoints
        heartbeat.interval: 1000
        heartbeat.timeout: 5000
    depends_on:
      - jobmanager
  flex:
    image: factorhouse/flex-ce:latest
    container_name: flex-ce
    pull_policy: always
    restart: always
    ports:
      - "3000:3000"
    depends_on:
      jobmanager:
        condition: service_healthy
    env_file:
      - setup.env
setup.env
## Flink environments
FLINK_ENVIRONMENT_NAME=OSS Flink
FLINK_REST_URL=http://jobmanager:8081
FLINK_TIMEOUT_MS=5000

## Our License Details
LICENSE_ID=<license-id>
LICENSE_CODE=<license-code>
LICENSEE=<licensee>
LICENSE_EXPIRY=<license-expiry>
LICENSE_SIGNATURE=<license-signature>

## Allowed Actions in Simple Access Control
# Allow users to submit+upload Flink jobs
ALLOW_FLINK_SUBMIT=true
# Allow users to terminate Flink jobs
ALLOW_FLINK_JOB_TERMINATE=true
# Allow users to delete Flink JARs
ALLOW_FLINK_JAR_DELETE=true
# Allow users to edit Flink jobs (configuration, snapshotting etc)
ALLOW_FLINK_JOB_EDIT=true
To launch the entire stack, we need to ensure the docker-compose.yml and setup.env files are in the same directory. Then, we run the following command:
docker-compose up -d
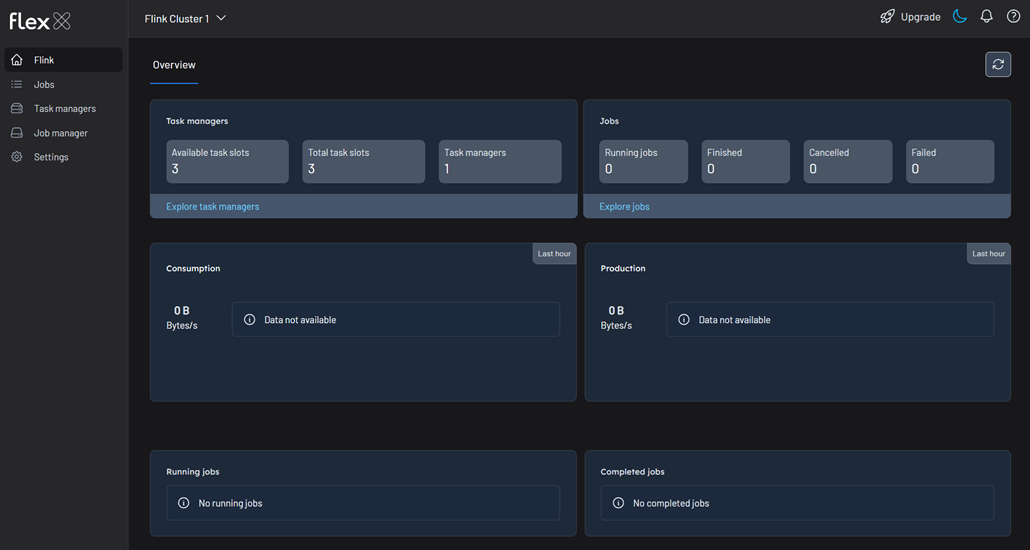
Once the containers are up and running, we can open our web browser and navigate to http://localhost:3000 to access the Flex UI. We will find that Flex has automatically detected and connected to our Flink cluster.